About Bike Painting
Call: 01568 750477
Motto
The processes I use to Custom Paint a motorcycle have been developed over the 15 years that I have been custom painting. Quite some time ago I adopted the attitude that I will do the job as well as I can possibly do it with reference not only to how long it takes to do but also the materials used. Therefore it costs what it costs to do that.
Estimates & Quotations
Obviously I am happy to give rough estimates for prospective jobs. Accurate quotations however are very difficult to achieve. I receive a very eclectic selection of designs to complete and the very nature of what I do is that it is different. This makes it very difficult to quote on! Ultimately it boils down to a relationship of trust between the customer and myself, not only to achieve technically, their aim, but also to be honest about the hours logged on that job. My hours are logged to the nearest 5 minutes.
Rates & Payment
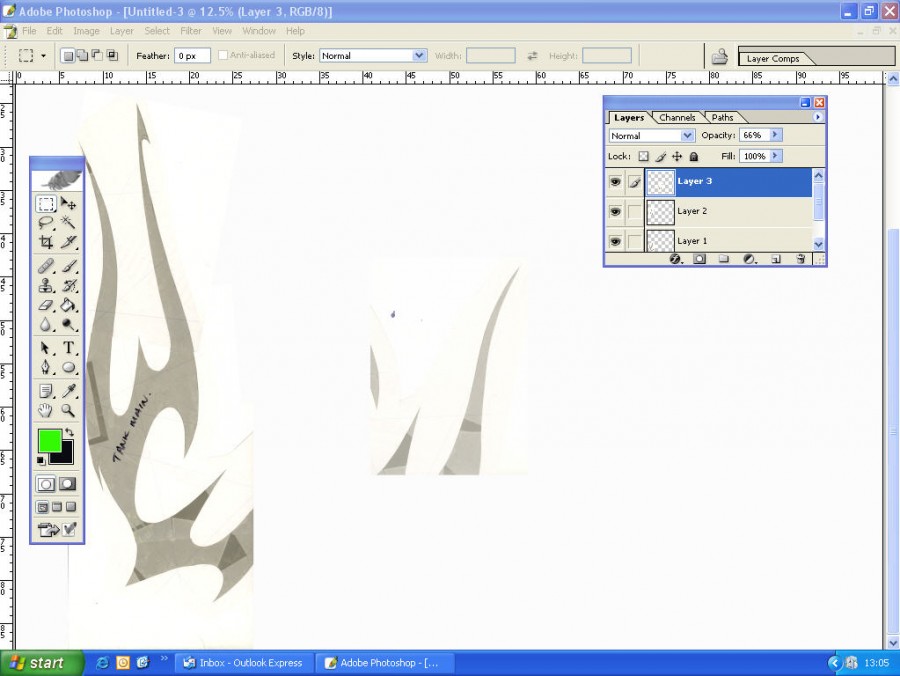
My work is charged by the hour. I have two hourly rates. The first for artwork includes basically anytime I have a spray gun in my hand whether it be an airbrush or a primer gun. This I charge at £35/ hour. Preparation includes all time spent on the computer mocking up artwork for proof by the customer and the processes of sanding, filling etc. It also includes time spent in the car for trips to the paint strippers or media blasters, although I usually try to get several jobs together for this to keep costs down. This I charge at £30/ hour. At this time I make no charge for materials as they are absorbed by the hourly rate. I require a deposit of £100+VAT when booking a slot for paintwork. Waiting times vary but once your deposit is paid you have an allocated time slot which is then yours. Your deposit is deducted from your final bill. I require full payment before goods can be released.
Technical Details
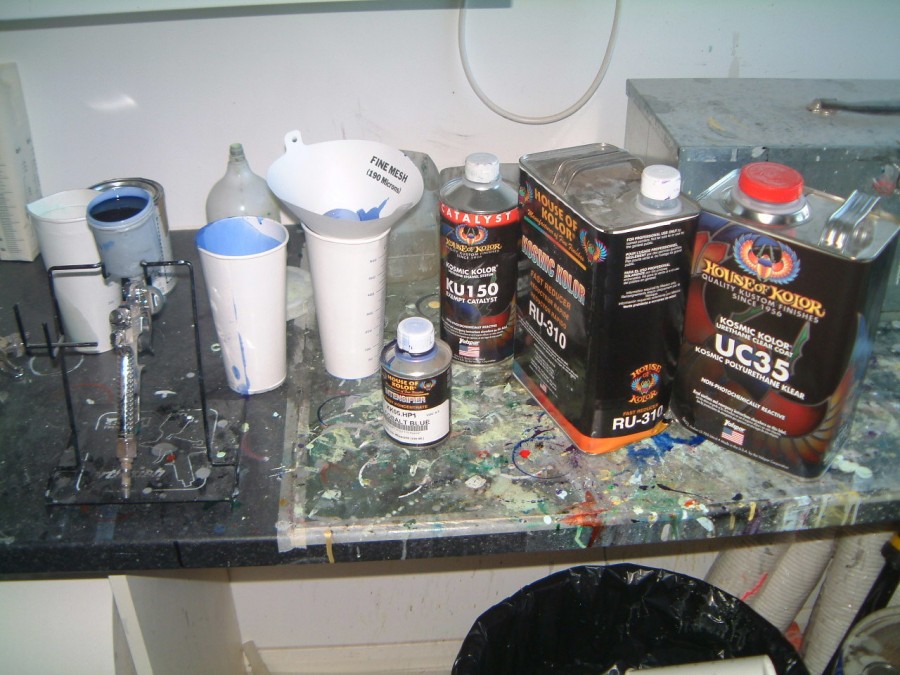
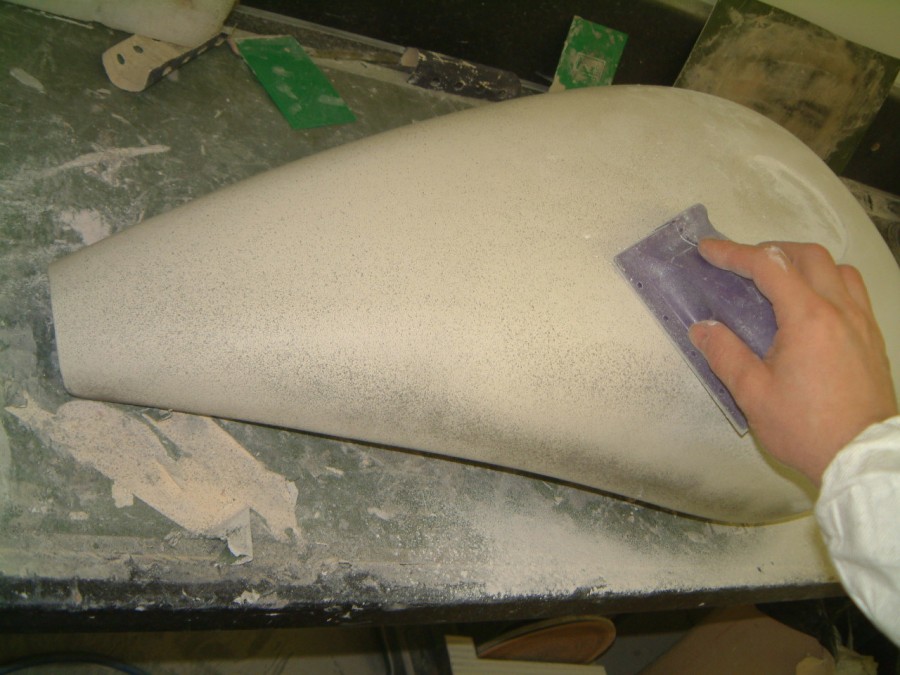
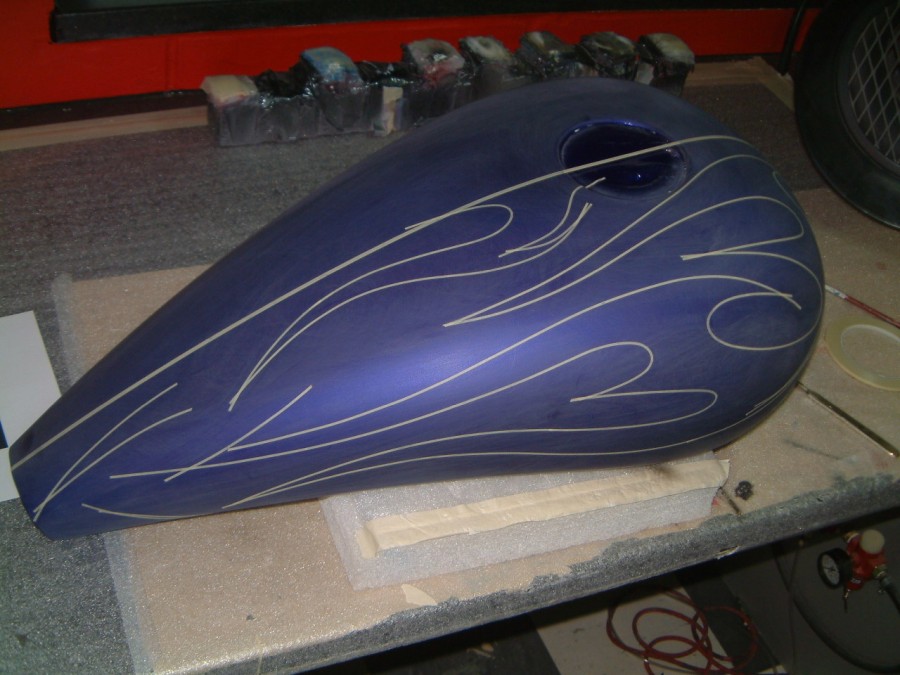
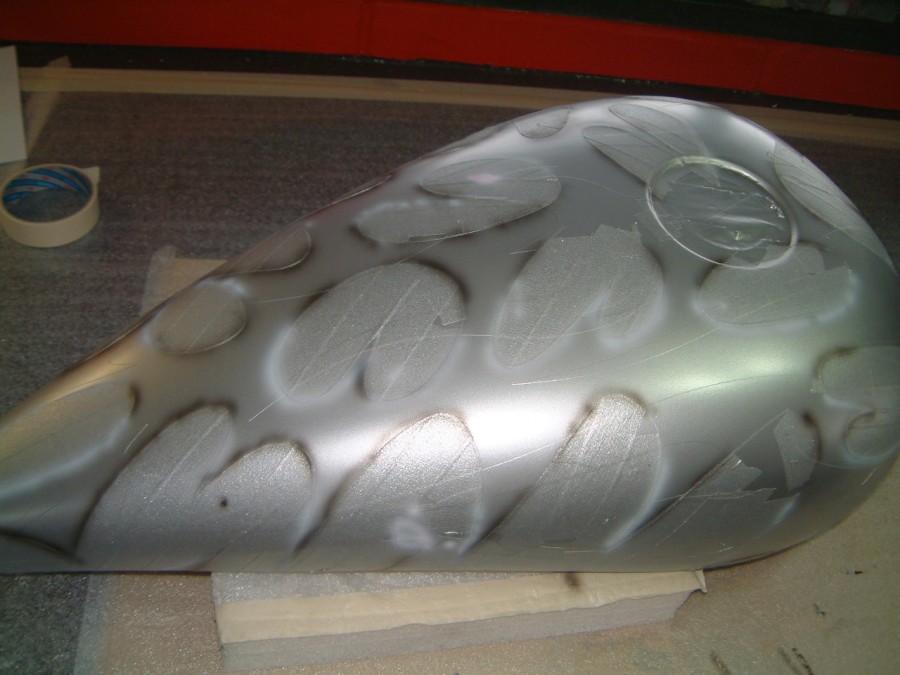
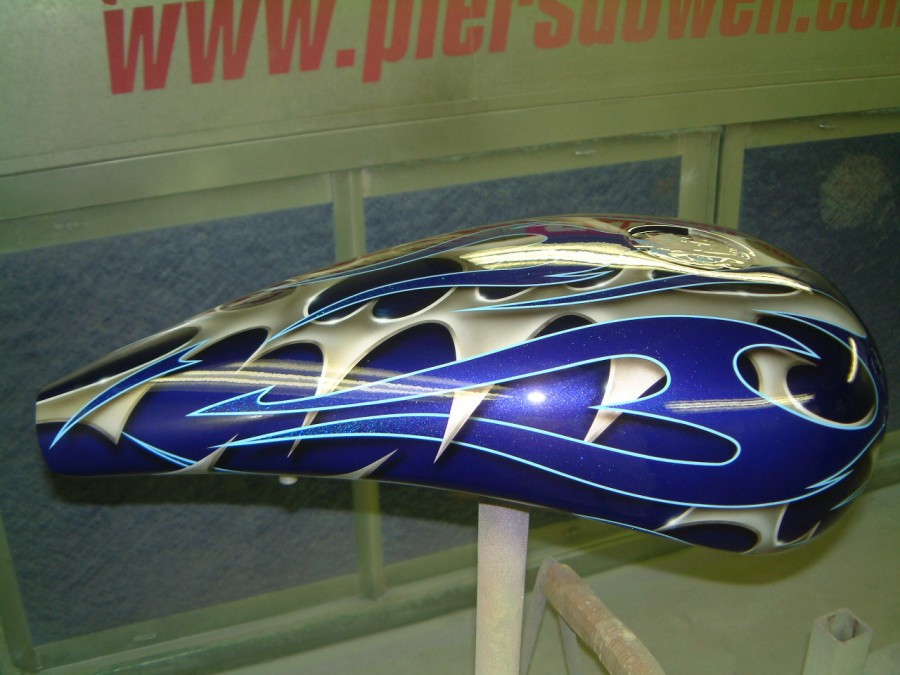
After outlining the design with the customer the first stop for the metalwork is the chemical paint strippers. This is a methanol based product that totally strips all the paint inside & out. I find it far better to media blasting as it does not traumatise the thinner panels like stock Harley fender for example. The panels are then fully de-greased and sanded for a key to the primer. It at this stage I will also do any filing or blending. As a result of working by the ‘motto’ I’ve deduced that House of Kolor products are pretty much as good as it gets from primers to top coat. They are not cheap but are blended with custom painting in mind. I use their epoxy Primers, surfacers, and sealer. The Epoxy primer is very good at sticking to just about any substrate and far superior to the old lead chromate self etch primer. This surface is sanded when hard. House of Kolor also supply the primer-surfacer I use next (or sometimes first if the substrate is very good) again it’s adhesion is superb. This is sanded again when hard and the panels are now ready for colour. Before the colour is applied a sealer is sprayed onto the primer surface to provide a good adhesion to the colour and prevent bleed into the primer .A lot of painters don’t bother with this but it is an essential stage. The colour is then applied as the sealer flashes off. What ever the colour is it will be coated in at least 3 coats of urethane clear coat. This will be sanded for either a top coat of Hi flow urethane clear or more colour in the form of a graphic design. If a design is the case it will again be coated in a urethane clear coat which will be sanded when hard, to a level surface, removing any edges created by the masking process. It may be necessary to repeat this layering process a number of times in order to complete a complex design. When the design is complete and the last coats of levelling clear coat have been sanded the surface is top coated with a Hi flow urethane clear which is especially good at levelling out to minimise the ‘orange peel’ effect. However this is never fully achieved and so after curing the surface is sanded with 1500 grit and a block with a firm face. It is then sanded with 2000 grit to remove any of the deeper scores created by the 1500.Then the surface is mechanically polished with a compounding head on an air polisher with a fast cut compound. It is then buffed. Then it has the compounding process repeated but with a finer grade compound to remove swirl marks from the faster cutting compound. The surface is then polished by hand and any bungs and plugs removed. The fuel tanks are also sealed around the filler and outlets to prevent fuel vapour lifting the paint at a later stage. Any steel fenders are also treated to a coat of Wax oil under-body for extra corrosion protection. Then it all yours!


Instagram Facebook Pinterest Youtube